Radiant Barriers:
Sunlight is one of the silent means that heat enters your home. Anyone who has opened the door to a vehicle and watched heat pour out knows that thanks to sunlight, enclosed spaces like cars (Or Attics!) can become small furnaces in the dog days of summer. If your home is going to receive direct sunlight throughout the day, especially if you don’t have any trees shading your roof deck, you should consider radiant barrier installation for cost reductions.
Radiant barriers work by reducing radiant heat gain. To be effective, the reflective surface must face an air space. Dust accumulation on the reflective surface reduces its reflective capability.
That is why a radiant barrier should be installed to minimize dust accumulation on its reflective surface. Make sure yours is installed on rafters and roof decking, never on the attic floor.
Types & Installation of Roof Radiant Barriers:
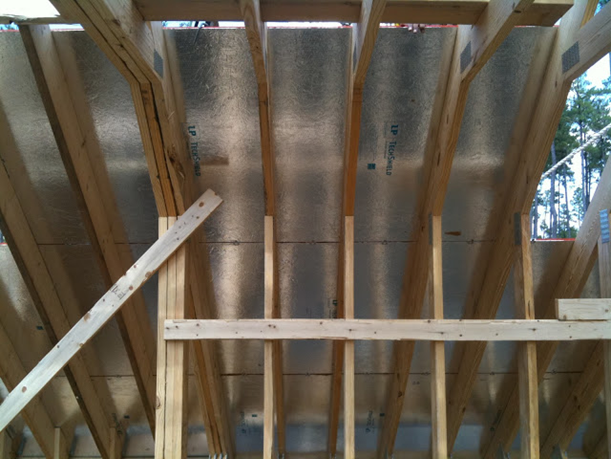
Highly reflective aluminum foil radiant barriers come in two varieties. They can come attached to the roof decking These are often laminated to the underside of the OSB or Plywood and perforated to allow water vapor to escape the attic. It’s easier to incorporate radiant barriers into a new home, but you can also install them in an existing home, especially if it has an open attic.
In new construction, a builder can simply purchase decking with the radiant barrier affixed to it. There is no added labor cost with this method, but the decking itself may cost more than a plain decking. Another system involves draping a rolled-foil radiant barrier foil-face down between the roof rafters to minimize dust accumulation on the reflective faces (double-faced radiant barriers are available).
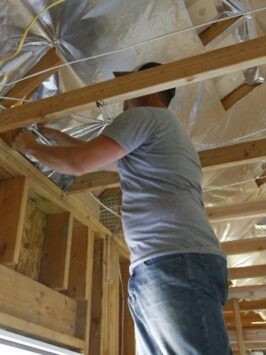
This is generally done just before the roof sheathing goes on but can be done afterwards from inside the attic by stapling the material to the bottom of the rafters.
The foil can also be added foil can be added to rafters in an existing roofing system. When installing the foil, it’s important to allow the material to droop between the attachment points to make at least a 1” inch air space between it and the bottom of the roof. Installing foil in an attic is time consuming and if you are not careful it can be less than 100% effective. Remember, radiant heat travels in a straight line. That means hard-to-reach areas where foil may not reach, become potential radiant heat leaking points.
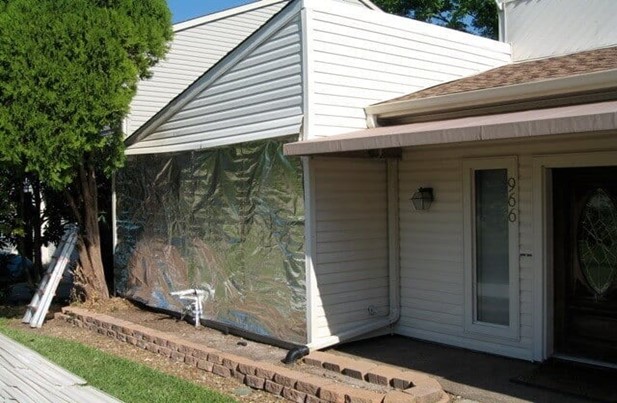
Radiant Barriers in External Walls:
Only add a radiant barrier to the Direct East and West facing walls, and the wall must have enough air space to breathe at least ¾ of an inch best 1 inch for it to work properly. If siding a home then use cedar furring strips for creating the air space. Insects hate cedar also screen the bottom at top at soffit and never block the soffit air flow.. I prefer to roll out foil onto the felt paper or inexpensive moisture barrier and put it on right before the masons or carpenters start applying the skin (Siding, Brick or Stucco). The barrier is stapled, and cap nailed on the sheathing on top of the moisture barrier. Remember it is only suggested on direct East & West facing walls because these walls are where the sun hits the house and wrapping other sides with foil would not be worth the effort. Apply on top of the properly installed moisture barrier house wrap. This way the windows are properly wrapped, and you just butt the radiant barrier to window, and you do not wrap inside the windows. Start at the bottom and overlap at the top by 4 to 6”.